18 June, 2021
Keyfax with QL – What’s Happenin’?
Depends who’s askin’…
Because, if you’re a QL user running version 4.7.2 of QL or later, then the answer is “quite a bit!” There are lots of useful updates, and a couple of really juicy ones for QL users. The screenshot below covers the first, but the second is a bit of a game changer.
Writing back to QL Message fields
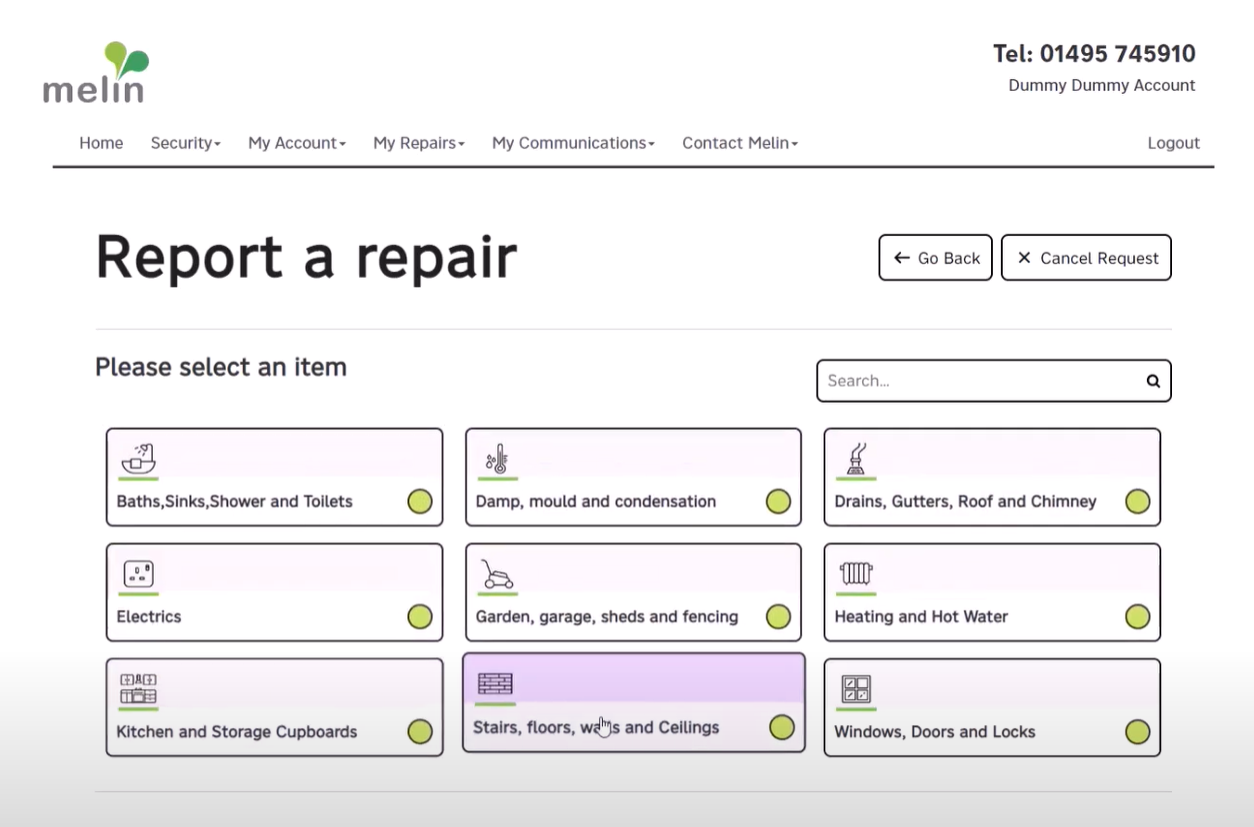
If you’re launching Keyfax from QL’s Single Screen Order Entry, once the repairs diagnostic is complete, the Keyfax breadcrumb (or diagnostic path) gets dropped into the message field, e.g.:
Kitchen sink: Wall tiles; white; 7 Tiles affected; loose; fair wear and tear
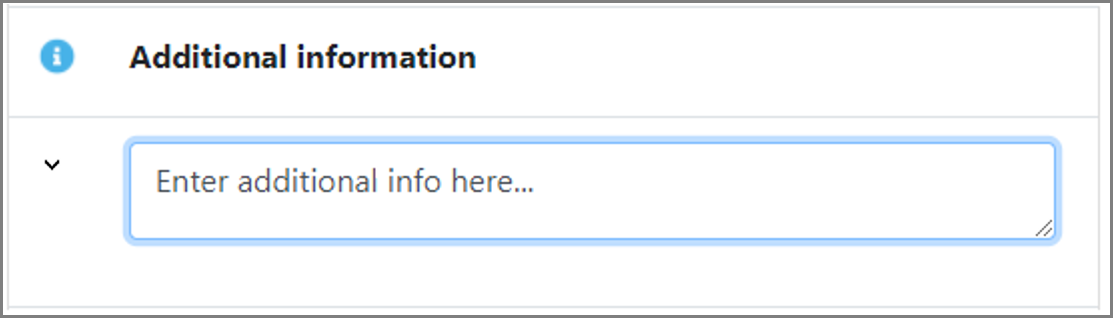
In a similar way (by default) any Additional Information that is added to the diagnostic is configured to update the Message2 field in QL.
The Additional Information can be entered by advisors on the final page of the diagnostic:
For many housing repairs, often there isn’t any additional information added. The Keyfax Diagnostic Path and Additional Information fields are passed into QL and held in fields called Message and Message 2 by default. (N.B. captions are configurable within QL, so they could be called something else in your QL screens – see the red box in the screenshot below).
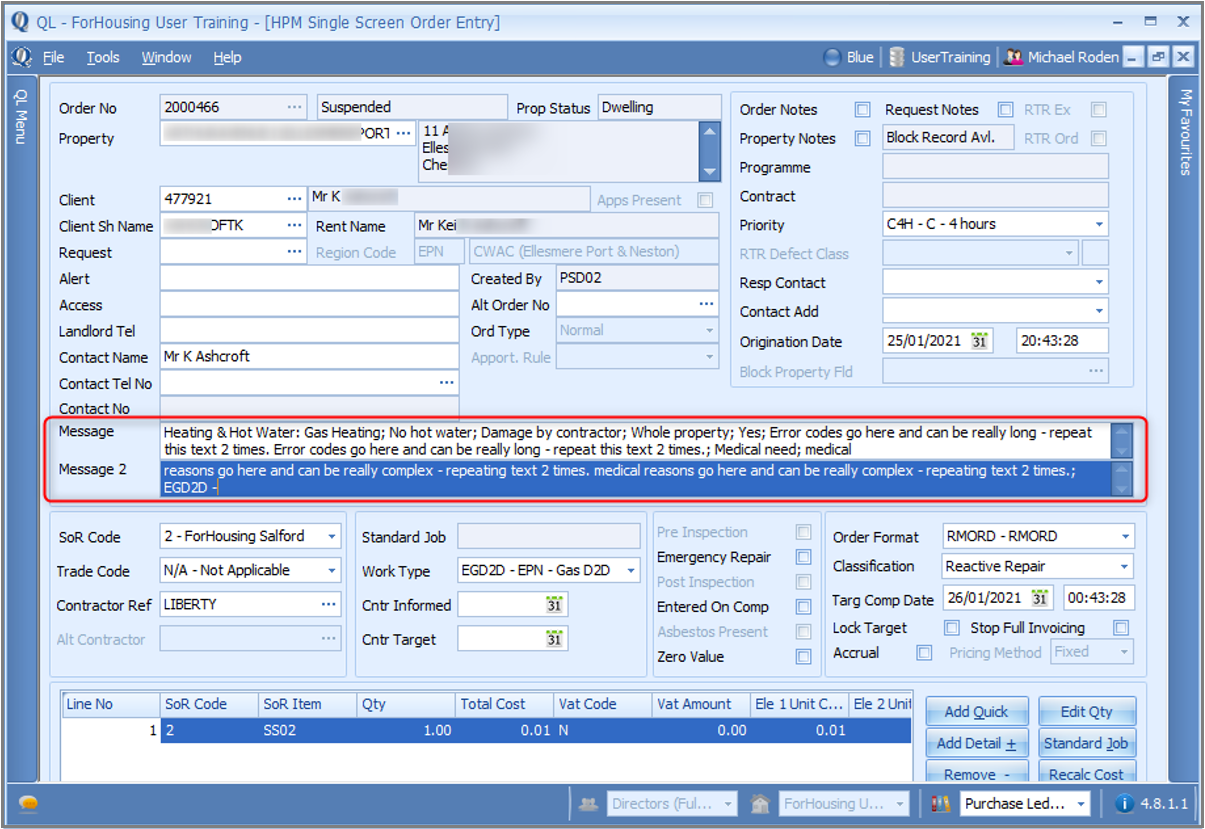
But there is a 255 character limit in QL on the Message field. That’s not a problem for a short diagnostic path like the example above. But for longer diagnostic paths, it means that the first 255 characters will be assigned to Message and the rest are lost. And with more complex repairs diagnostics scripts, it’s quite easy to break the QL Message 255 character limit.
There is another way
Several clients have asked us to configure Keyfax with the following behaviour instead:
- Let QL add the Fault Text up to 255 characters in Message
- Keep any overflow from the above and save it into Message2.
This way the full Keyfax repairs diagnostic path is preserved, and sent back in the Keyfax export data to QL.
This does mean that, when configured this way, the Additional Information field on the final page of Keyfax is no longer available for use. But that is a price most are willing to pay, to get the whole diagnostic path sent through to QL.
This is easily configured by Omfax. If you don’t have Keyfax and QL set up like this, but would like to, just contact your Customer Service Consultant.
New QL integration with Keyfax Web Services
Now for the game changer!
Keyfax has supported a web-services integration for a long time. In 2020, Aareon worked with Omfax and Touch-Base to develop the new web-services integration to Keyfax. That means the Keyfax legacy client program is no longer needed when using QL with Keyfax!
So there is nothing to install on Citrix – existing customers can remove the Keyfax client from Citrix! After testing, of course.
The new web services integration is cleaner and faster than using the legacy client and is also future-proof. What’s more, it’s really easy to set up at the QL end.
Assuming you are a QL user, none of the existing parameters need to change. You just need to set three new ones:
- Choose to use Web Services integration (a tick box)
- Choose which Keyfax config to launch by default (we’ll tell you)
- Set where the Keyfax web services can be reached from (your live Keyfax server).
Choose Web Services
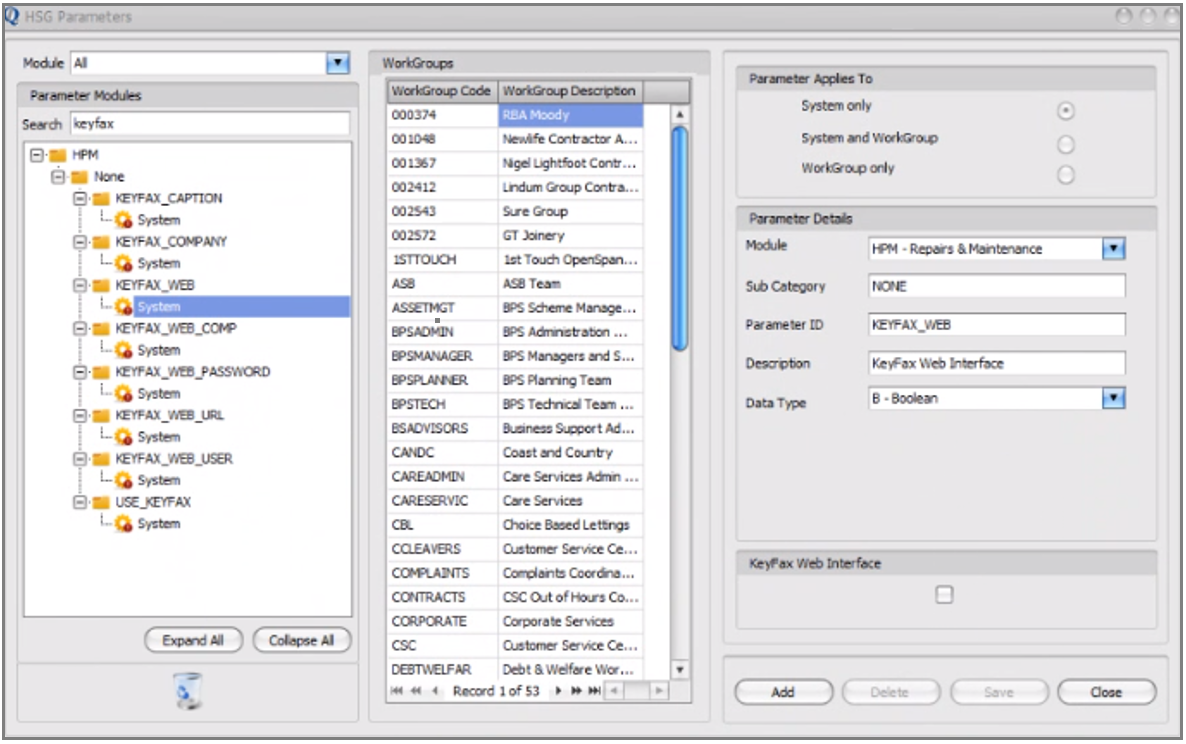
In the QL HSG settings, find KEYFAX_WEB, and then just click on the tick box labelled “Keyfax Web Interface” (bottom right in the screen-shot).
Choose which Keyfax config
In KEYFAX_WEB_COMP, enter the name of the default Keyfax “Company” or config file (e.g. Housing_Staff_Live) – just ask Omfax which Keyfax config should be launched by default.
Set the Keyfax web services URL
In KEYFAX_WEB_URL, enter the URL where the Keyfax web server (and it’s web services) can be reached from.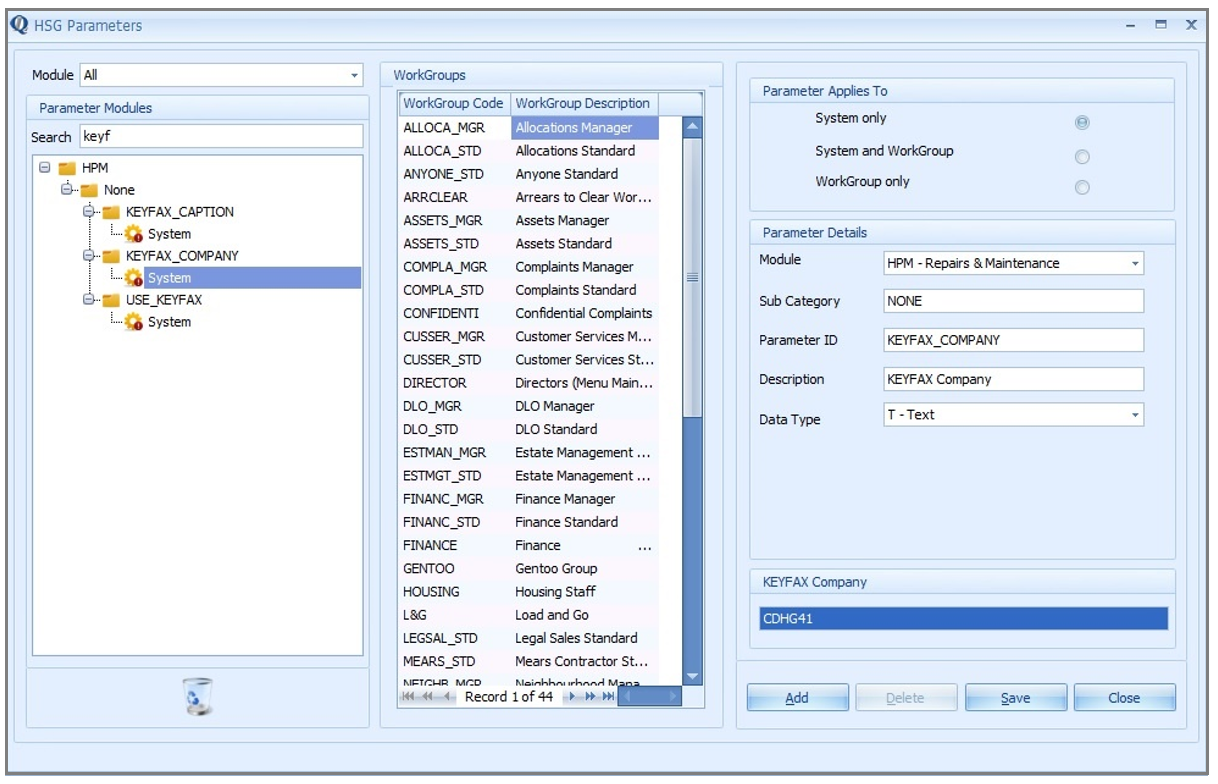
As always, if you’d like some help with this, or would appreciate a conversation with someone, have a chat with your Customer Services Consultant.